
Cervinodata offers a powerful way to collect data from multiple advertising platforms and Google Analytics and makes it available in a way that you prefer. Besides the option to synchronise the data to Google BigQuery it is also possible to connect your application directly to the Cervinodata API. This support document takes you through the necessary steps.
Please note that the Cervinodata API is currently in beta and limited in scope. More functionality will be added step-by-step. If you have any questions of suggestions for features related to the Cervinodata API, feel free to submit a ticket: support@cervinodata.com
The API documentation
If you have already followed the 4 steps below and wish to go right to the API documentation, you can find it here: https://app.cervinodata.com/api/documentation
Step 1: Setup your Cervinodata account
- Register for a free trial here https://app.cervinodata.com/register or login to your existing account https://app.cervinodata.com/login
- Connect to the platform(s) you wish to collect data for
- Under "Manage accounts" > "Connect to platforms"
- Create one or more organisations
- Under "Manage accounts" > "Create organisations".
- This is an optional step but when using a lot of accounts it's very handy to group accounts by organisation.
- If you skip this step, all your accounts will be placed under the "Default Organisation".
- Switch the accounts you wish to collect data for, from OFF to ON
- Under "Manage accounts" > "Choose accounts"
(Optional) Step 2: Manual refresh
The data will be automatically collected twice per day (around 01:00 and 13:00 CET). All new accounts will automatically be added upon the next cycle.
If you wish to work with any new account(s) right away, you can manually refresh new accounts on the Manage data collection page. Refreshing the data for new accounts will load the account data into the Cervinodata database so it can be retrieved via API calls.
You can trigger the manual refresh here: https://app.cervinodata.com/manual-data-refresh
Step 3: Get API token
To authorize access to the Cervinodata API you need to create a token.
- Go to https://app.cervinodata.com/settings#/api (in the top right corner, under "Your settings" > "API" )
- Fill in a new token name and press "Create".
- Copy the token. Please note: When creating a new token it will be shown only once, so store it in a safe place.
Step 4: Authorize on the API documentation page
- Go to: https://app.cervinodata.com/api/documentation and press "Authorize".
- Paste the token and press "Authorize".
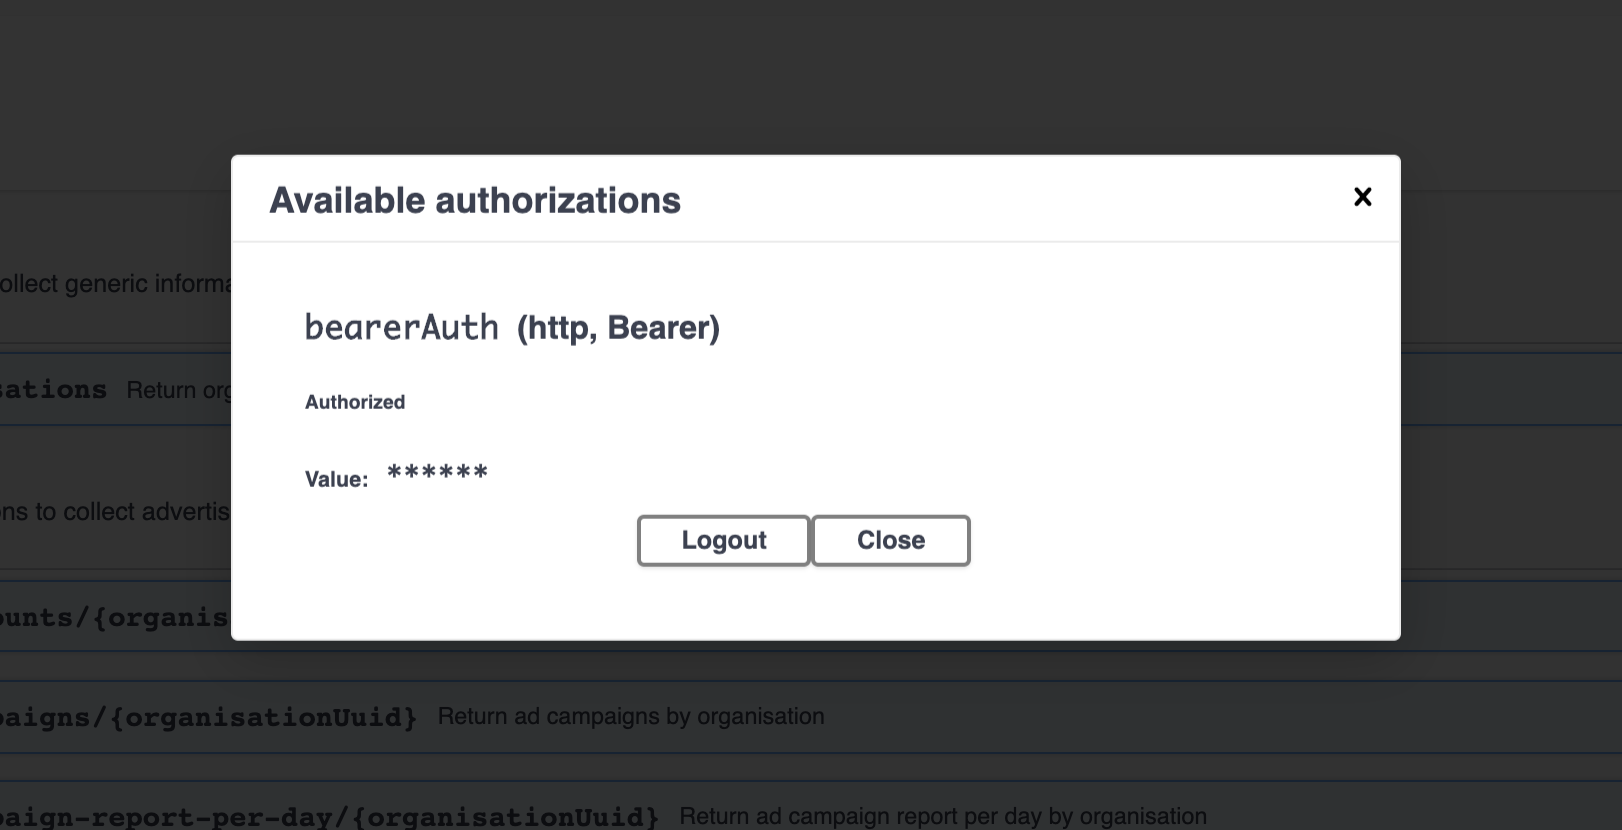
- If the popup window shows "Value: *********" (as shown below) just "Close" the popup and you're good to go.
(Optional) Step 5: Authorization in general
- Authorization to the Cervinodata API is done by using a HTTP Authorization request header with a Bearer Token.
- This means that if you send a HTTP request to the Cervinodata API (https://app.cervinodata.com/api/v1) the request has to have an Authorization header with a valid Bearer Token:
Authorization: Bearer <Cervinodata API token> - The moment you delete an API token from Cervinodata, access to the Cervinodata API via that token is prohibited.